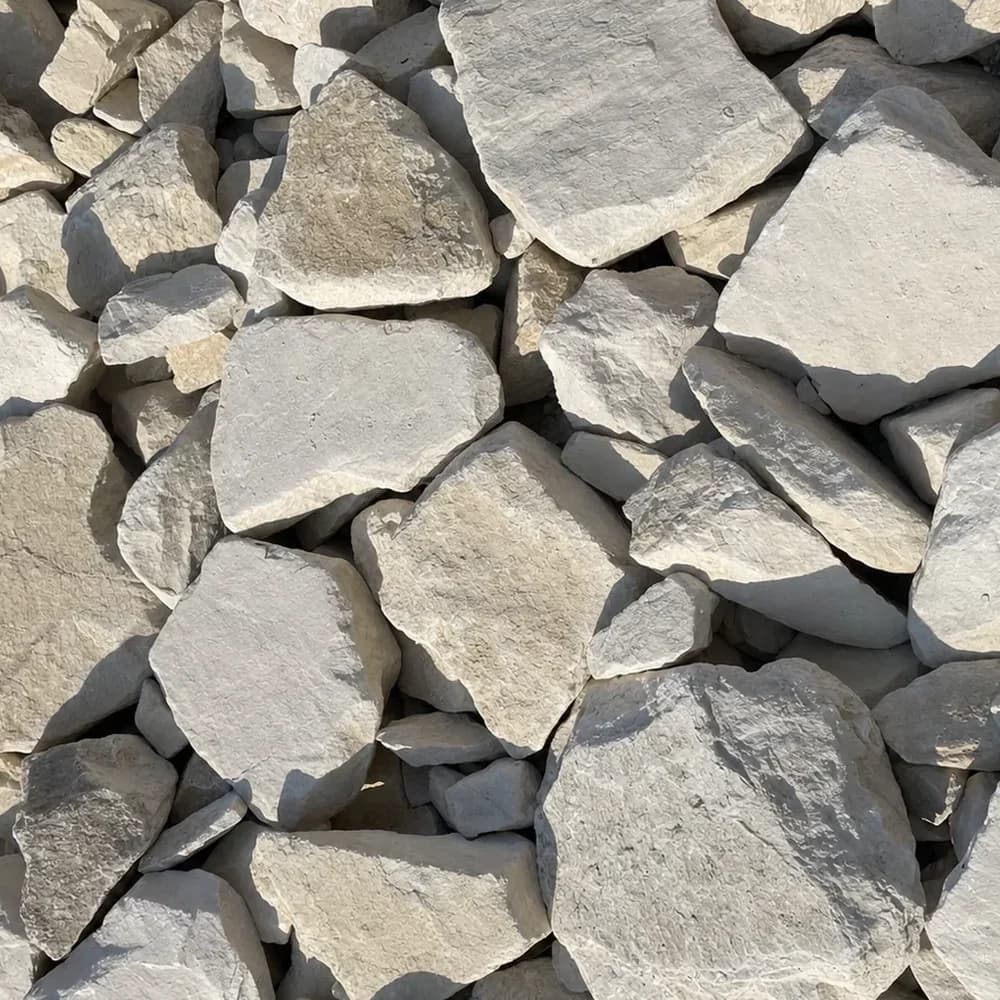
Rip Rap Calculator for Creek Banks, Ditches and Culvert Outlets
Enter your project dimensions
The number that surprises people here is coverage. A ton of decorative stone spread two inches deep over a bed covers most of a small border. A ton of armor stone covers about seventeen square feet, because it is not spread, it is stacked a foot or more thick. That is the difference between landscape rock and rip rap, and it is why the pile that turns up looks small against the bank it has to protect. If what you are building is a dry creek line for the look of it, with no real flow to hold, that is rounded large river rock at a landscape depth, sized in the river rock calculator. Everything on this page follows from armor depth, starting with where you put the tape.
Where the tape goes on an eroding bank
Stand at the top of an eroding bank and the easy measurement is the wrong one. The distance across the ground from the edge to the water is shorter than the sloping face the stone has to cover: on a bank at the 2:1 maximum this page sets, the footprint reading is about a tenth short, and the gap widens on anything steeper.
Lay the tape on the slope itself and run it from the toe, below the water line or below where scour has been cutting, up to the top of the protection. That figure is your width. Multiply it by the length of bank or channel you are armoring and you have the area to enter.
Two things belong inside that measurement. The toe starts below the expected scour depth, because failure begins at the bottom and works upward, so measure from where the lowest stone will sit rather than from where the ground is now. And the armor runs a few feet past each end of the eroded section, since water works at whatever edge you leave it.
Ask your state and local authorities what approval is required before any stone goes below the ordinary high water line of a creek, river or lake. Work in and along water is commonly permitted work, and the answer follows the waterbody.
What the tool takes, and where 24 inches becomes a problem
Enter the slope-face area as length and width in feet. Multiple areas handles a bank that changes height along its run or a ditch that turns, up to five pieces totaled in one estimate, and Circle mode is there if you are ringing a pond outlet or a plunge pool.
Depth is the layer thickness in inches, and the field accepts 0.25 through 24. Twenty-four inches is exactly the top of the useful range for this work, so anything thicker has to be entered as two passes and added. Choose the material and take the five percent option, which on hand-placed stone is a fair allowance for the pieces that end up in the wrong place.
Setting the layer at one and a half times the biggest stone
Twelve inches is the minimum that does anything. Below that the stones sit as separate objects rather than a locked face, and the first serious storm rolls them.
The working rule is a thickness of one and a half to two times the largest stone in the load. Four to eight inch stone therefore wants twelve to eighteen inches of layer, and larger stone, or faster water, wants eighteen to twenty-four. If you are caught between two sizes, take the bigger stone and the thicker layer.
Stone size follows the force of the water. Four to eight inches suits a slow stream, a pond edge or a downspout outfall, and eight to twelve is for quicker channels and edges taking boat wake. Highway and spillway work is engineered, with classes and thicknesses drawn on a sheet, and that sheet governs rather than this page. In this state machined rip-rap is specified by class, A-1 through A-3, B and C, which is how the material is described locally rather than a certification carried by this storefront.
Nothing goes straight on bare soil. Either non-woven geotextile under the stone, bought from a landscape supplier since it is not stocked here, or three to four inches of #4 crushed stone as a bedding layer. Skip it and the bank erodes out from underneath while the armor still looks fine on top. Grade the face to 2:1 or flatter before you start, too; steeper than that is an engineering question and no amount of extra stone answers it. Where water has to be carried away from behind or above the armored section, that is washed graded stone rather than armor, and it goes through the stone calculator.
Why 1.55 tons a yard makes a small pile out of a big order
Rip rap runs about 3,100 lb a cubic yard on this site's published figures, which is 1.55 tons and the heaviest material sold here. Cubic feet divided by 27 gives cubic yards; times 1.55 gives tons.
| Layer thickness | 1 ton covers | Tons per 100 sq ft |
|---|---|---|
| 12 in | about 17 sq ft | 5.7 |
| 18 in | about 12 sq ft | 8.6 |
| 24 in | about 9 sq ft | 11.5 |
At the six to eight inch size a ton sits in about two thirds of a cubic yard and hand placing is possible with gloves and patience. Anything larger wants a machine.
Fifty-five feet of creek bank below a hill pasture
A hypothetical one, on the sort of clay hillside that scours after a storm. The bank face measures 7 feet down the slope from the top of protection to the toe, and the eroded run is 55 feet, so 385 square feet.
At an 18-inch layer: 385 x 18 ÷ 12 = 577.5 cubic feet. 577.5 ÷ 27 = 21.4 cubic yards. 21.4 x 1.55 = 33.2 tons, which reads 34.8 with the five percent ticked. Order 34 to 35 tons of RipRap.
The bedding under it is a second, much smaller order. Four inches of #4 stone over the same 385 square feet: 385 x 4 ÷ 12 = 128.3 cubic feet, ÷ 27 = 4.75 cubic yards. At about 2,900 lb a yard, or 1.45 tons, that is 6.9 tons. Round to 7.
Check the access before either is booked: the last twenty feet down to a creek is where a loaded truck stops being a truck, so pick a firm tip spot.
The apron below a driveway culvert
A pipe turns water that was spread across a hillside into a jet, which is why the ditch below a culvert is usually the first thing to fail on a hill drive. The apron wants to run four to six pipe diameters downstream.
For a 15-inch pipe that is five to seven and a half feet, so call the apron 7 feet long and 9 feet wide to take the spread: 63 square feet. At a 12-inch layer: 63 x 12 ÷ 12 = 63 cubic feet, ÷ 27 = 2.33 cubic yards, x 1.55 = 3.6 tons. Four tons covers it with a little spare.
Walk the bank after the first hard rain that follows. Check the toe for stone that has moved, bare soil between pieces, and any fabric uncovered. Put shifted stone back and fill thin patches from your reserve. Ten minutes twice a year is the whole maintenance program.
When the tonnage is settled, choose a quantity and a date on the product page, and read the access notes first, since this is the heaviest load on the site and it needs somewhere solid to land.
Common questions
My ditch turns a corner partway along. How do I enter that?
As two areas rather than one. Use Multiple areas and treat each straight run as its own rectangle: face width by run length for each, entered separately. The tool totals up to five. Do not try to average a bend into a single length, because the outside of a turn is where the water works hardest and it usually wants both a wider face and a thicker layer than the straight sections either side of it.
Should I include the ground either side of the washed-out section?
Yes. Armor that stops exactly where the erosion stops just moves the problem to the new edge. Carry the stone a few feet past each end of the damage and a foot or so above the highest water mark you can see on the bank, and include that margin in the length and the face width you enter. It is a small addition to the tonnage and it is the part that stops you doing the job twice.
How do I split the order between the bedding stone and the armor?
They are two separate calculations over the same footprint. Run the area at your armor thickness for the rip rap at 1.55 tons a yard, then run the same area at 3 to 4 inches for the bedding, using about 1.45 tons a yard for #4 stone. The bedding usually lands at a fifth or less of the armor tonnage. Have both on site before you start, because the fabric or bedding layer goes down first and nothing above it can be placed until it is.
The bank is curved and the face height changes along it. What then?
Break it into sections short enough that the face height is roughly constant, and measure each one down the slope. Three sections at 5, 7 and 9 feet of face, each 20 feet long, is 100, 140 and 180 square feet, so 420 in total. Enter them as three areas. Averaging a varying bank into one rectangle underestimates the tall end, which is normally the end doing the failing.
An existing armored bank has gone thin in places. Do I measure the whole thing?
Only the patches. Measure each thin or bare area down the slope, add them, and use the difference between the thickness you have and the thickness you want as the depth. A 40 square foot patch that is 6 inches short takes 40 x 6 ÷ 12 = 20 cubic feet, ÷ 27 = 0.74 cubic yards, or 1.15 tons. If the fabric underneath is exposed or torn, that section needs lifting and rebedding rather than topping.
Related calculators
Banks don't armor themselves.
RipRap by the ton with free delivery, plus the #4 bedding stone to go under it.